


Combines Rapid Aeroponic Rooting with Quantum Board LED Technology
These kits combine super-oxygenating aeroponic propagators with Omega Spectra LED grow lights, allowing you to get your clones rooted in double-quick time, improving strike rates and making your indoor garden much more efficient.
How the LED Aeroponic Propagation Kits Work
Aeroponic propagators are made up of three core components: a reservoir, a propagator tray and a propagator lid. The reservoir supports a tray of net pots with neoprene collars, from which cuttings are suspended. The reservoir also holds your nutrients, water pump and delivery system (with spray heads). These spray heads act like a mini-sprinkler system, distributing a fine mist of nutrient solution around the stems. This creates an environment with extremely high levels of oxygen, promoting rapid root development while reducing the potential for microbial infections, like pythium.
The clear plastic lid maintains a humid environment inside the propagator, preventing your clones from drying out before they have successfully rooted. There are some adjustable ventilation holes at the top. Keep these closed off when you first take your cuttings and open them up to let in some fresh air as roots start to develop.
Omega Spectra G Line LEDs are extremely efficient, running at 2.8 umol per watt. This delivers an intense, full-spectrum output with plenty of blue light to get the best out of plants in their earliest and most vulnerable stages. Omega LEDs are very powerful, so you should use the output dial to set them to their lowest output setting when taking cuttings. You can then gradually turn the LED up as your plants develop.
To make taking cuttings extra easy, we've thrown in some Clonex and a scalpel. Surgical blades make cleaner cuts that cause much less stress. Using Clonex speeds this process up; dip your cuttings in Clonex before transferring them to your aeroponic propagator and they'll be ready in no time.
Contains
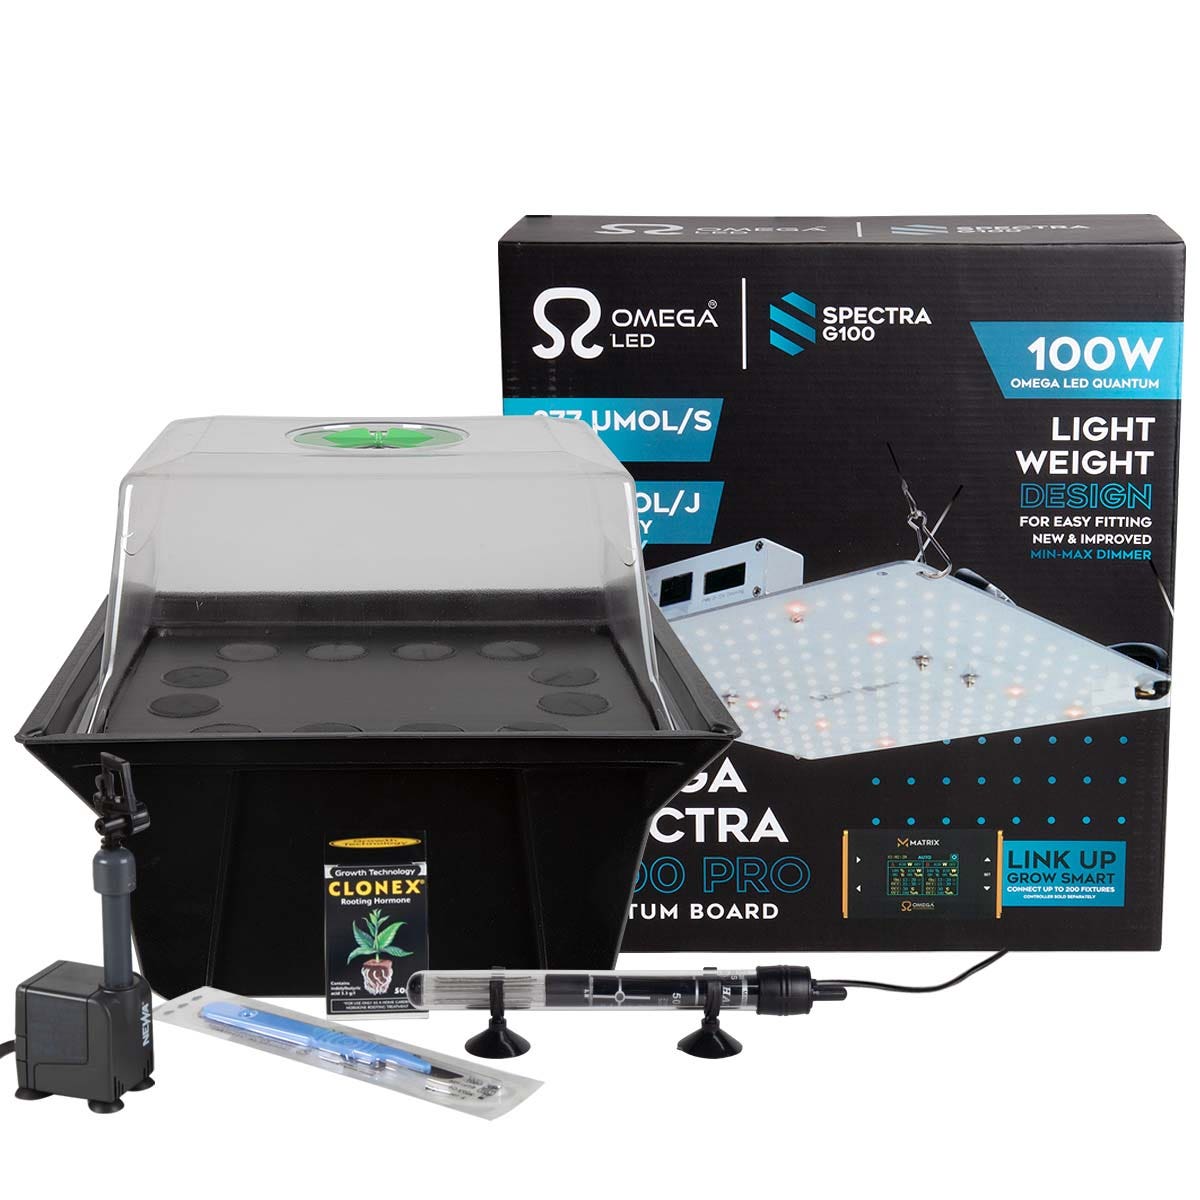
12-Site
1 x 12-Site Aeroponic Propagator with net pots, collars, pump and delivery system
1 x Sterile Scalpel Blade
1 x 50mls Clonex Rooting Gel
1 x 50 Watt Hailea Tank Heater (with thermostat and temperature dial)
1 x Omega Spectra LED G100
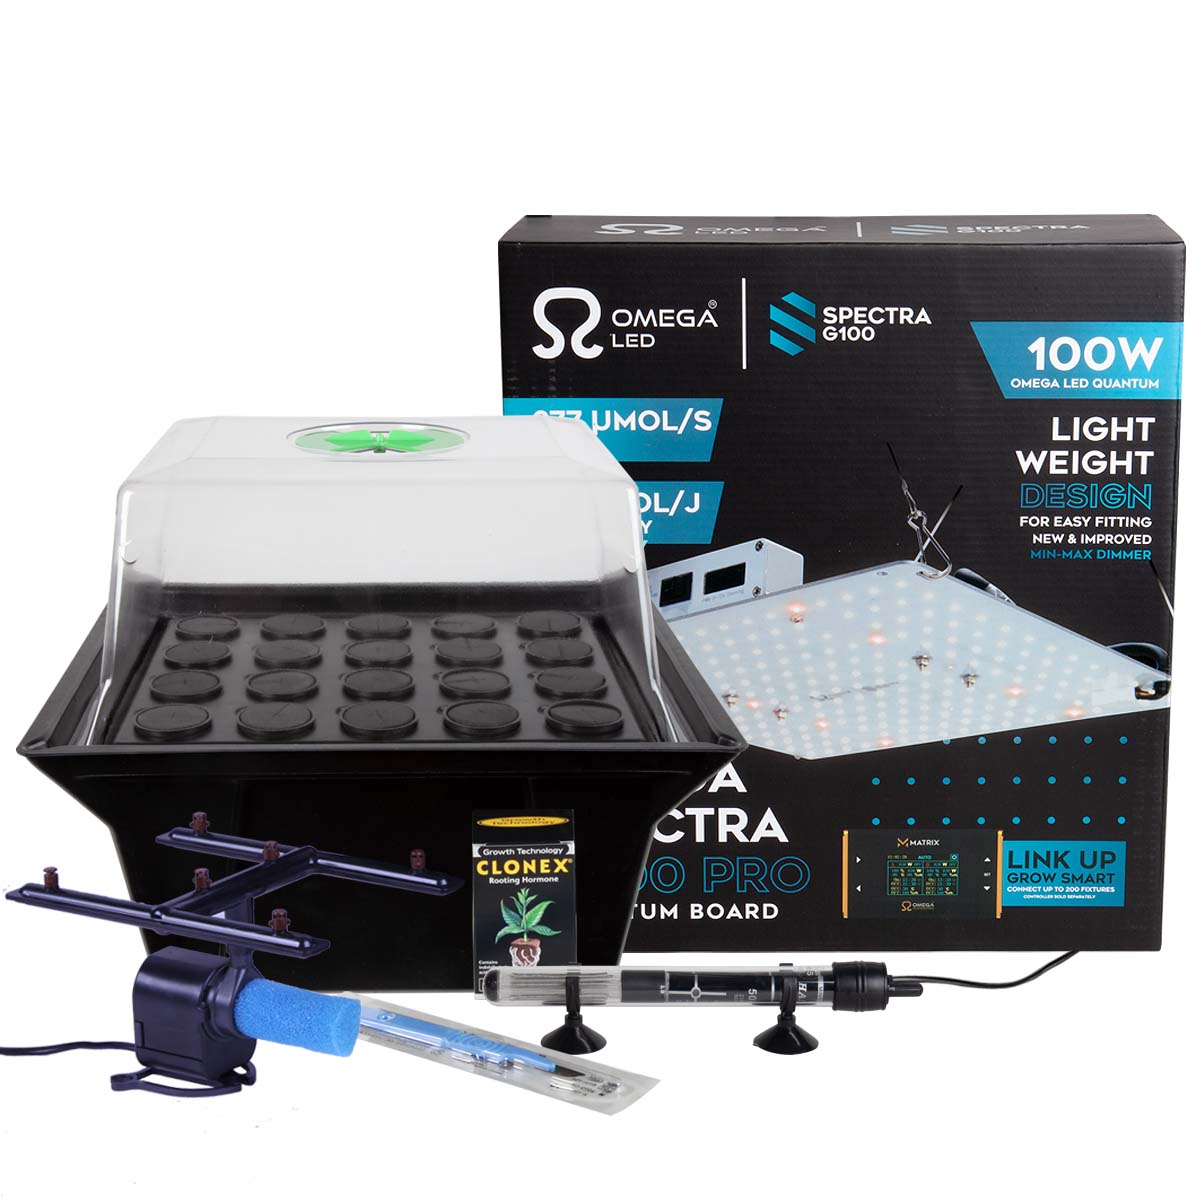
20-Site
1 x 20-Site Aeroponic Propagator with net pots, collars, pump and delivery system
1 x Sterile Scalpel Blade
1 x 50mls Clonex Rooting Gel
1 x 50 Watt Hailea Tank Heater (with thermostat and temperature dial)
1 x Omega Spectra LED G100
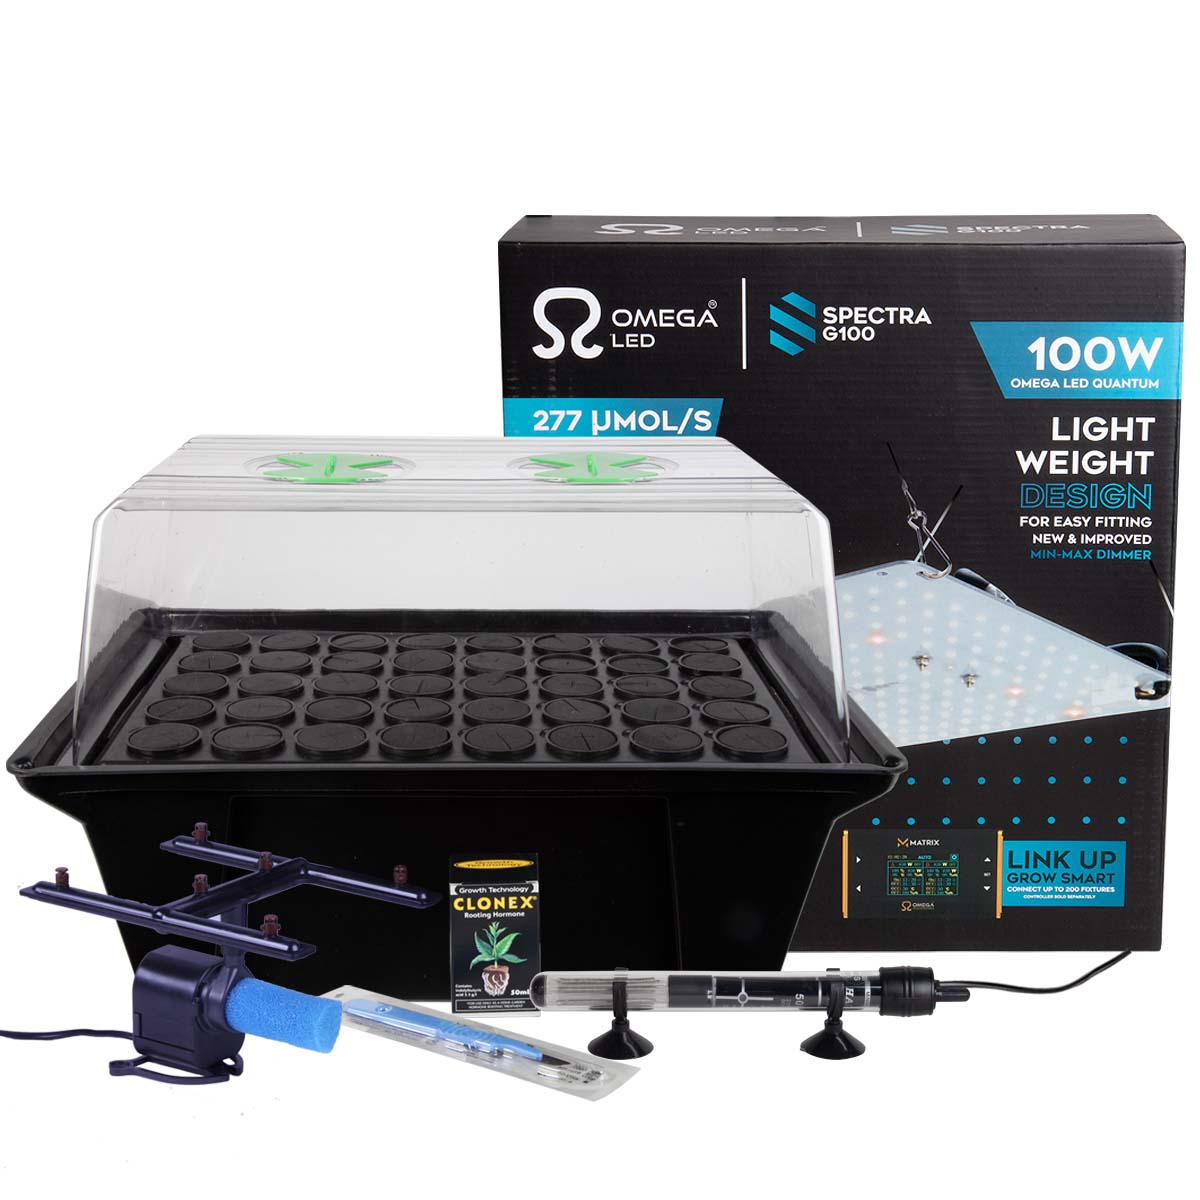
40-Site
1 x 40-Site Aeroponic Propagator with net pots, collars, pump and delivery system
1 x Sterile Scalpel Blade
1 x 50mls Clonex Rooting Gel
1 x 50 Watt Hailea Tank Heater (with thermostat and temperature dial)
1 x Omega Spectra LED G100
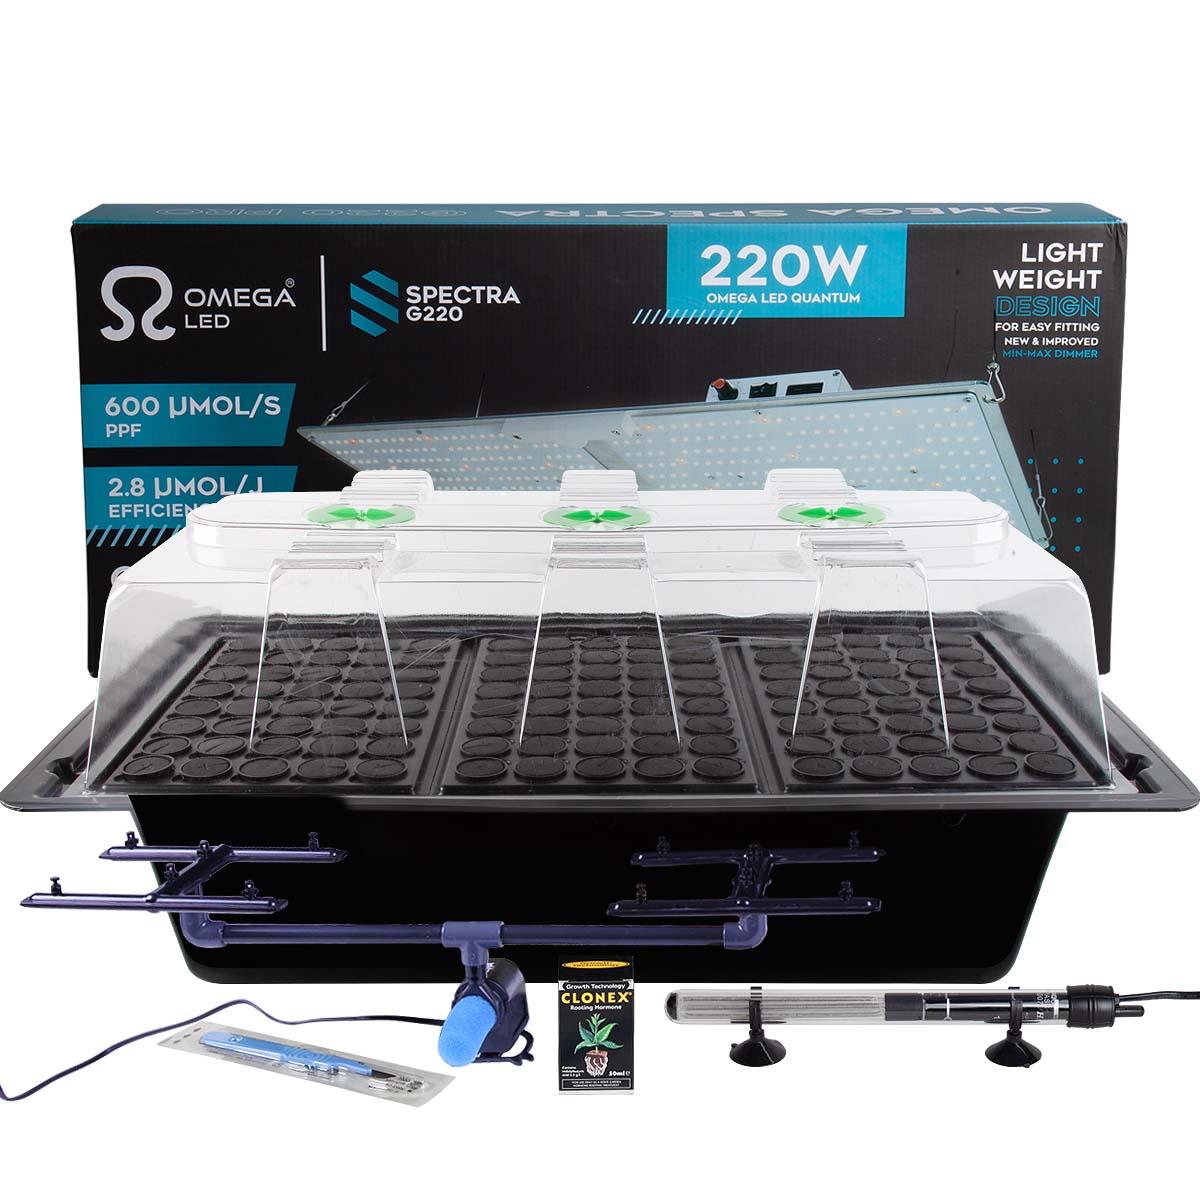
120-Site
1 x 120-Site Aeroponic Propagator with net pots, collars, pump and delivery system
1 x Sterile Scalpel Blade
1 x 50mls Clonex Rooting Gel
1 x 150 Watt Hailea Tank Heater (with thermostat and temperature dial)
1 x Omega Spectra G220
About
- Faster root growth, better strike rates and quicker turnaround times!
- Made from tough, durable, crack-resistant plastic
- Easy to set-up and maintain - requires no growing medium
- Comes with the excellent Omega Spectra Quantum LED board
- Comes with a Hailea Tank Heater to keep nutrient temps optimal
- Kit comes in a range of sizes to fit virtually any space
- Includes Clonex and a scalpel to help you take your cuttings
How To Use
Aeroponic propagators are easy to assemble. Connect up the pump, delivery system and spray heads and then stick the pump to the bottom of the reservoir, along with your Hydor Heater. Make sure that you set the heater to 20 degrees Celsius.
For information on taking cuttings, check out the One Stop Blog. Insert each cutting into one of the neoprene collars, fit the collars into the net pots, and then place the net pots into the top tray. Fill your reservoir so that it sits just below the spray heads, making sure that the pH is between 5.8 and 6.5. Consider using a root booster like Katana Roots, which will add a protective coating to roots as they develop, along with a light foliar feed to keep the top half of the cuttings nourished while they're most vulnerable.
Shogun Start was designed specifically for the job, which can be used either in the reservoir or as a foliar (3ml - 4ml per litre). Note that your cuttings won't be able to use nutrients until they have roots, so foliar feeds are much more important while they're getting established.
We're the kings of stealth shipping! All of our orders are sent out in plain mailer bags or boxes with no mention of the company name for ultimate discretion.
Mainland UK Next Day Shipping will be with you the next day if ordered before 2pm. Our standard shipping is dispatched within 4 days.
We always aim for make sure our customers love our products, but if you do need to return an order, our 24/7 returns portal makes it incredibly easy. Just visit onestopgrowshop.co.uk/returns
Yes, we ship all over the world. Shipping costs will apply, and will be added at checkout. If you have any issues with shipping to your particular country, get in touch with customerservices@onestopgrowshop.co.uk and we'll create you a bespoke shipping quote.