So You've Just Finished the Flowering Cycle... What to do Next
Though it may be tempting to get stuck in straight after harvest, you’re going to need to hang-on a little longer until your plant materials are ready to consume. Luckily, it’s well worth the wait: getting the trimming, drying and curing process spot-on can turn a moderate smelling plant into something that blows you away, unleashing the full intensity of the flavours and aromas contained within, allowing the plants fruits to reach their full potential.
There are other important reasons to get this right. Freshly harvested herbs will quickly go mouldy if they're left in the wrong environment. Correct drying procedures help to prevent such contamination, which renders materials unfit for human consumption. Every time contaminated materials are eaten, smelled or inhaled, countless spores enter the body, which, over time, lead to extremely negative health consequences. After spending months painstakingly growing your beloved plants, the last thing you need is to see the end-product get written off!
Harvesting and Trimming
You’ll need to decide at which stage you want to undertake the trimming process – before or after drying. If you have a Trimbag, for instance, you can save time by drying plant materials with the leaves intact and removing them afterwards. All you need to do is seal your dried produce inside and rotate the bag clockwise.
Trimbags are great and save lots of time, but to get that ‘premo’ look, most growers prefer to remove leaves while plants are still fresh - generally straight after harvest. It allows for a closer finish and there’s less chance of losing delicate plant material. This can be shaken off more easily when dry, so it's advantageous to do as much work as you possibly can while your plants are still alive.
Trimming by hand is still by far the most popular method. Doing it this way is massively time consuming and tedious, but it also requires very little investment. One word of advice, if you’re going to go down this route, save yourself some aching hands and invest in some proper trimming scissors, which will make life a lot easier.
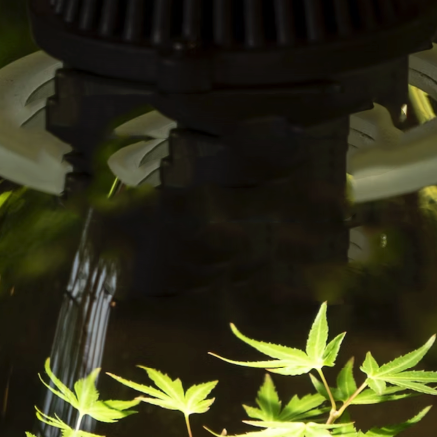
If you’re growing large quantities of material, then it’s much more practical to invest in a decent trimmer. Here’s a quick rundown of some of our favourites.
Trimpro Rotor - Trimming Machine
The Trimpro Rotor works in a similar way to the Spinpro, except it’s fully automated and won’t give you arm-ache if you need to work through kilos of produce! Like all Trimpro products, these things are built to last.
Protip: regardless of which trimmer you choose, always wear gloves when harvesting your plants to prevent contamination.
The Initial Drying Phase
The trick with the drying stage is to go slowly and steadily. If you’ve ever tasted produce that has been ‘speed dried’, then you’ll understand why patience is such a virtue! Don’t allow temperatures to rise above 21 degrees Celsius (70 °F) and aim for a minimum of 15 degrees. You also need to be shooting for a relative humidity of around 50%.
Make sure that there is plenty of air movement, but don't have fans pointing directly at plant material – or at least don’t have them too close. This will cause materials to dry out too quickly. The length of time that it takes to complete the initial drying phase will vary depending on how closely you can maintain optimal conditions, but a good way of testing whether it's ready for the next stage is to break a little piece of branch in half and note the effect. If it bends, it is a sign that the material still contains too much moisture. If you get a clean break with a satisfying snapping sound, then you’re most likely good to go.
Drying Racks
Drying racks help to dry out produce more evenly by allowing air to circulate around all sides of the material, including underneath. Never pile materials on top of one another; always spread them out as much as possible and leave plenty of space between each bit. If the produce is squashed together, the areas not exposed to air can form pockets of moisture that become breeding grounds for pathogens.
The Jumbo Drying Net has eight large compartments and features non-absorbent materials which help to prevent mould.
Curing
Curing allows flavours to develop by providing time for compounds like chlorophyll to break down. Chlorophyll is the well-known green pigment that’s vital to the process of photosynthesis, but it can also leave behind a ‘green’, salad-like taste.
The curing stage is relatively simple. All you need to do is transfer your materials loosely into jars leaving at least a quarter of the jar empty. Keep the jars in a dark area at 21 degrees C. Inside the jar, you’ll need to maintain consistent humidity levels of between 55% and 62%. Sound tricky? Don’t worry, Integra Boost pouches make it easy. Wack them inside with your plant materials and they’ll keep humidity levels consistent at all times, absorbing moisture if necessary and releasing extra moisture when required. They do this automatically, without any interference from the user.
They've been used for years by cigar connoisseurs to preserve flavours and aromas, and you can try one for as little as £1.25!
Open the jars regularly to release excess moisture, and keep your materials stored in this way for at least one to two months (this is the hard part!).
Storage
Loud pots are great for storing the end-product once it's cured. They form an airtight seal that keeps smells locked in, and they make a satisfying popping noise when opened! Zip-Zag Brand smellproof bags are also great for storing your herbs. To the untrained eye, they may look very similar to freezer bags, but they're made from thick, high-grade plastic with a low oxygen transfer rate that keeps your goods well-preserved.