


Daisy Chain Telos LEDs and Replace / Upgrade Drivers
Telos accessories enable you to customise the connection of your Telos LED Grow Lights.
There's the AC Link Cable and H-connector, that allow you to daisy chain your Telos Grow Lights from one socket. You can do the following:
- 10 x Telos 6
- 8 x Telos 8
- 6 x Telos 10
For more information, see our Telos 0006 & 0010 blog
How Cables, Connectors and Spares Work
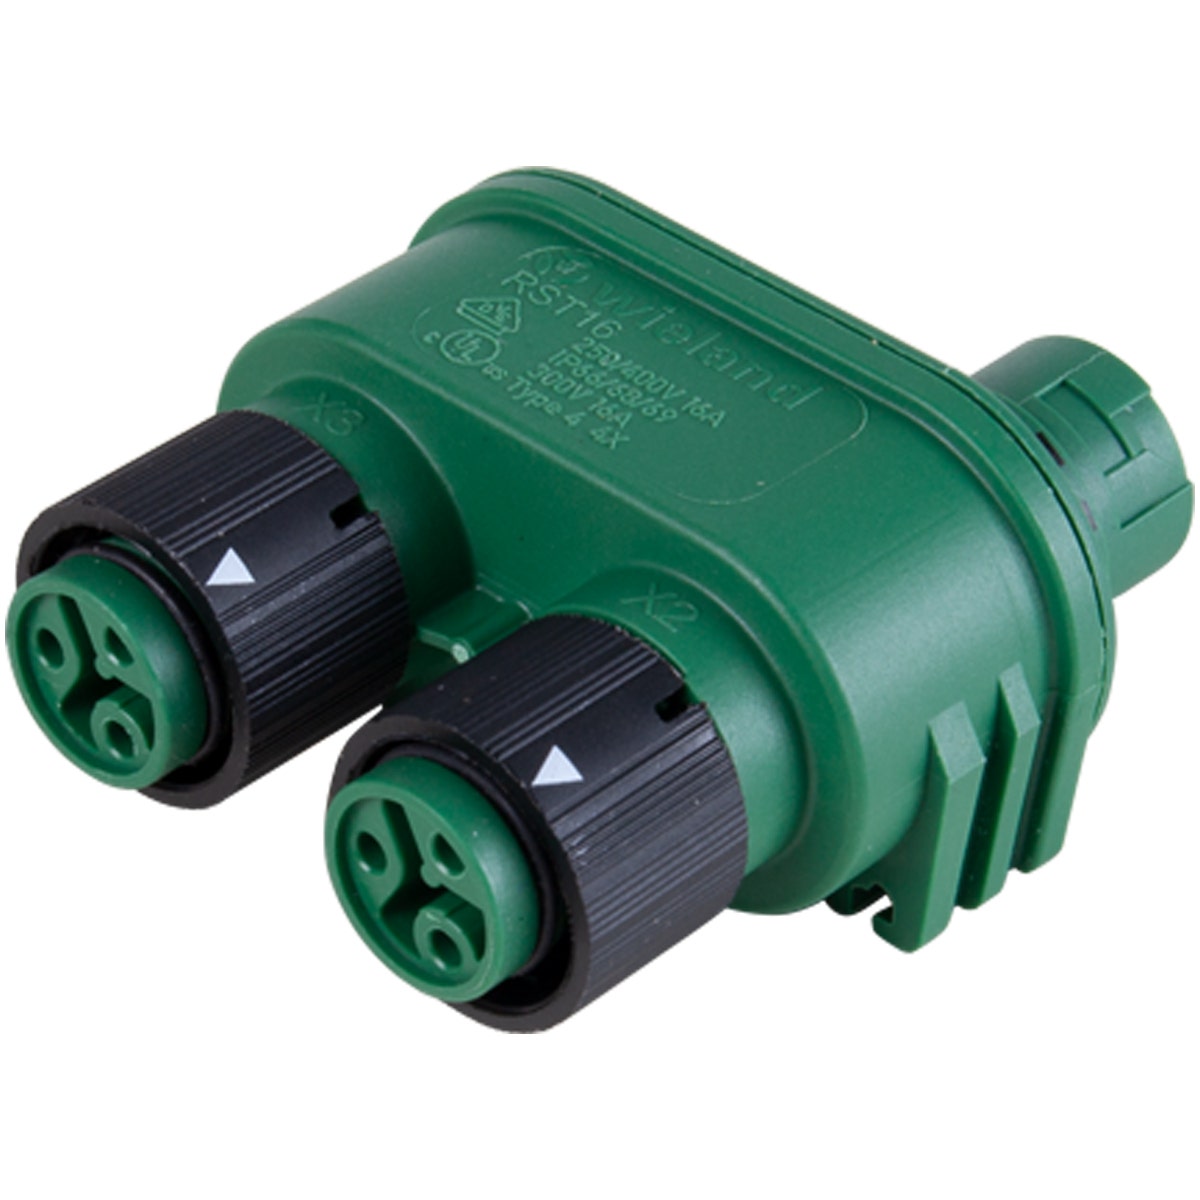
The AC Link Cable and h- Connector make it is possible to daisy chain power from a single socket into several Telos lights with just one power cable. The waterproof (IP66) green-coded power feed cable can be disconnected and a h-block splitter connector inserted, allowing for multiple units to be run in sequence. By using an AC Cable the mains power can then be fed on to another GN Telos grow light, saving valuable plug sockets for other grow room equipment.
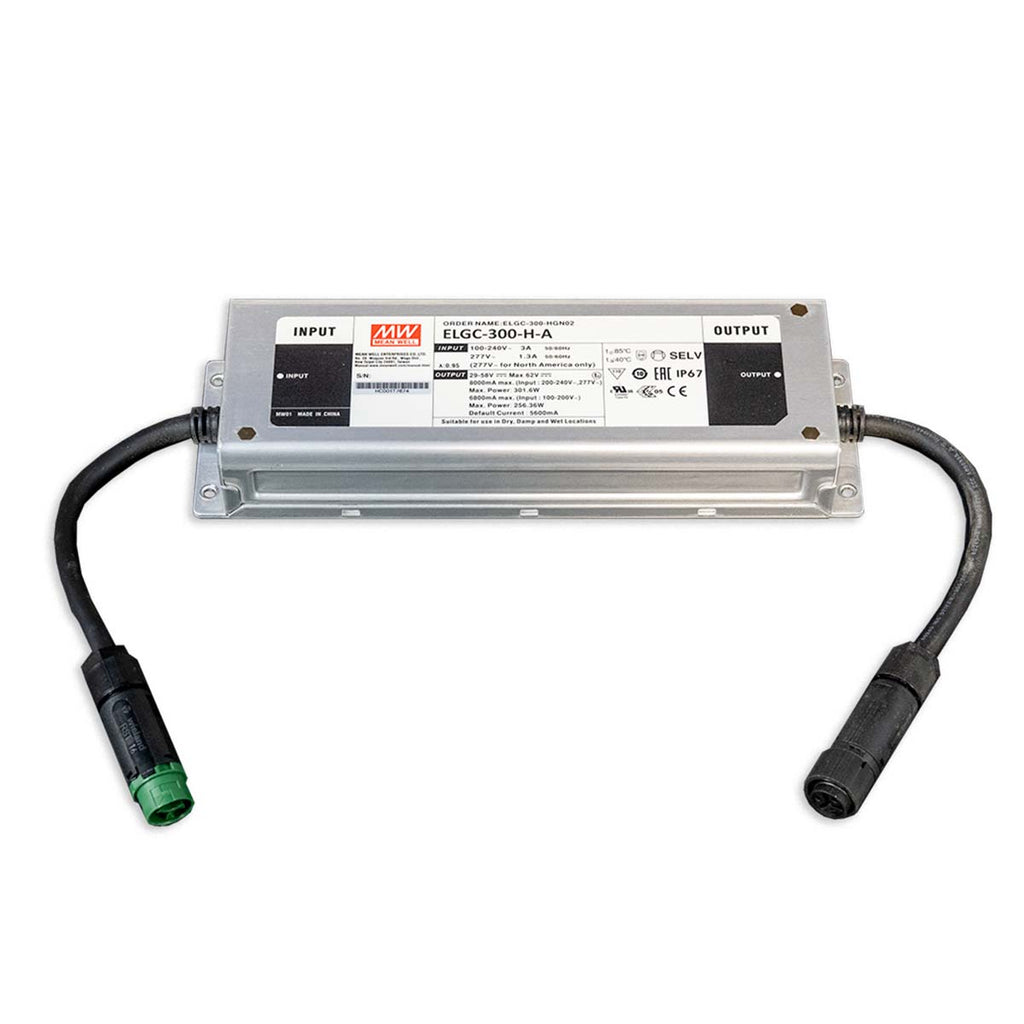
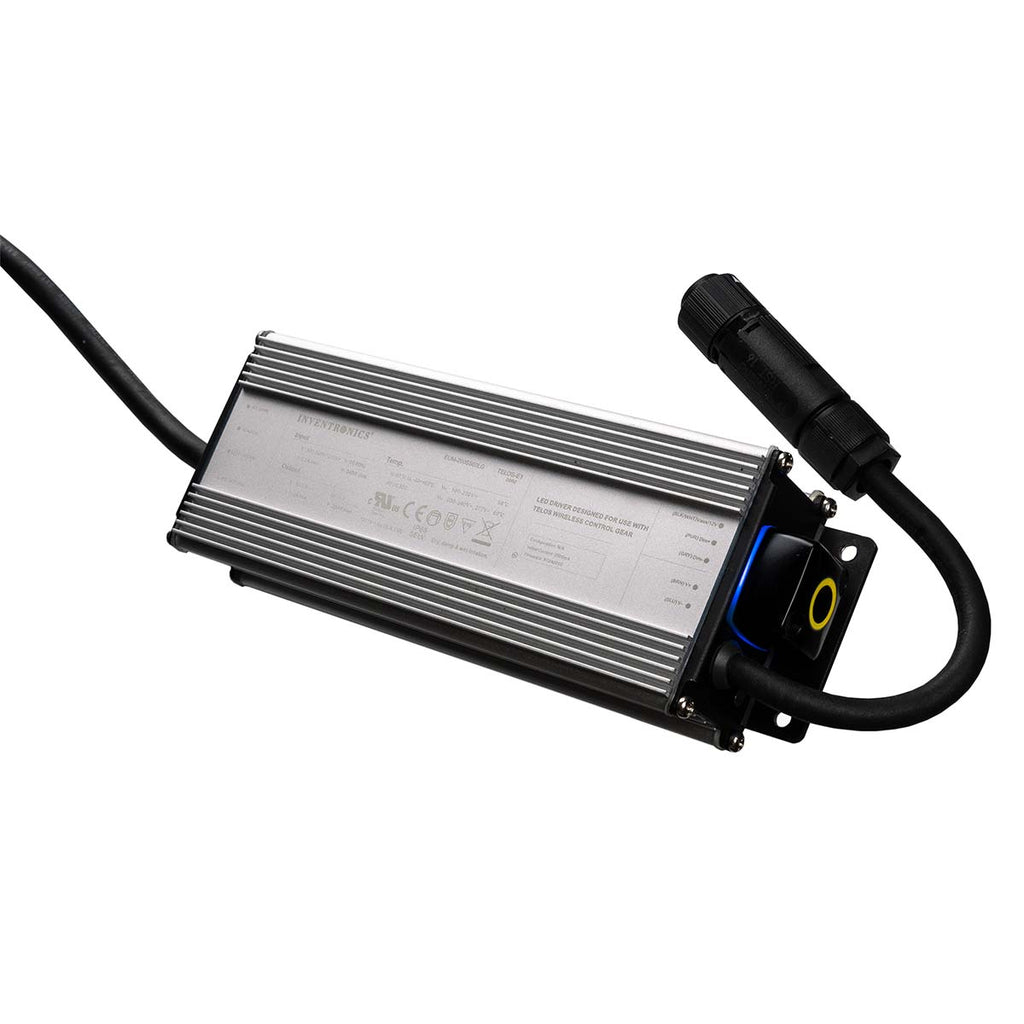
Spare drivers are also available for Telos 6 and 10 units. Go for the Mesh versions and you'll gain access to Bluetooth functionality, allowing you to control your Telos lighting via smartphone app.
Want to see our full range of LED grow lights? Click here
Contains
Contains
1 x Your choice of GN Remote Driver Cable, AC Link Cable or h-connector
About
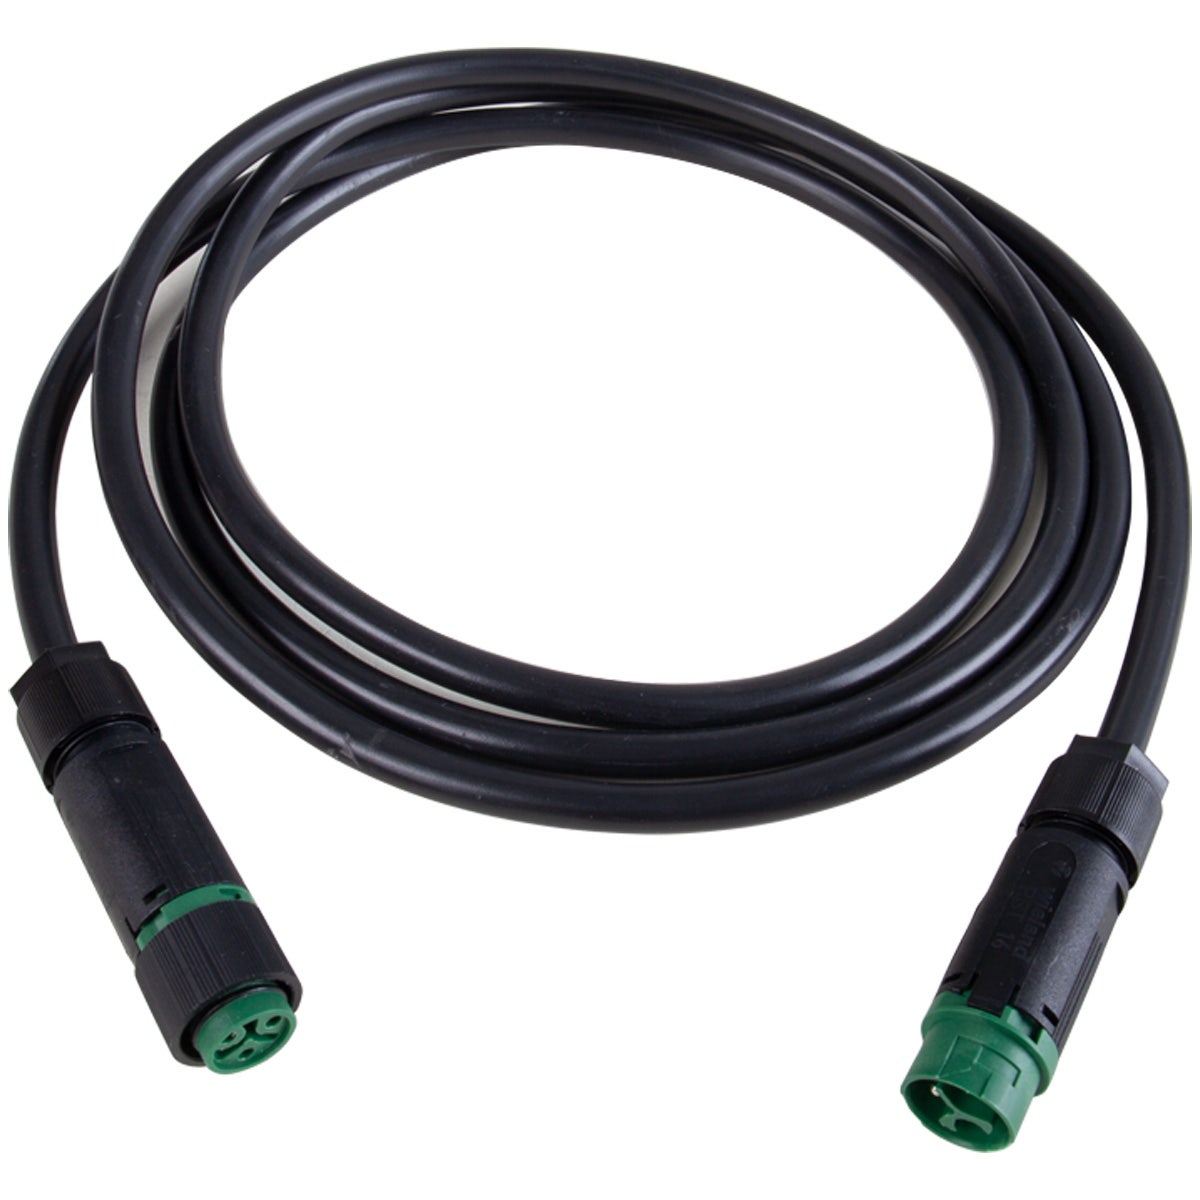
- Remote Driver Cable - Allows you to use the driver unit remotely, helping to solve head height and heat issues
- AC Link Cable & h-Connector - Allows you to daisy chain power to several Telos lights via 1 main socket
- Sturdy Wieland connectors used throughout, with an IP66 ingress protection rating
- Highly specced cables and connectors, insure safety and reliability
- Easy to use and install
How To Use
To install the Remote Driver Cable it is neccessary to detatch the driver unit from the top of the Telos Grow Light by cutting away the two metal locking straps. To do this we recommend using a pair of metal snips. Once it has been removed. Twist the locking ring so that the arrow points to the "open padlock" symbol. The driver unit can then be disconnected from the light unit and the Remote Driver Cable can be fitted. When pushing connectors together make sure the the arrow on the locking ring is in the "open padlock" position. Once the connectors are together, the locking ring can be turned so that the arrow points to the "locked padlock" so that it cannot be accidentally pulled apart. The driver unit can now be placed up to 3 metres away.
To use the AC Link Cable and h-connector, first disconnect the green-coded connector on the mains inlet side of the driver unit by turning the arrow on the locking ring to the "open padlock" symbol and pulling the connector apart. Attach the end of the mains lead to the side of the h-connector with only one connection. The driver unit can then be plugged in to one of the connectors on the side with 2 connectors on it. The AC Link cable can then be used to feed power to another drive unit. Always remember to secure connectors together using the locking ring.
Please Note: It is important not to daisy chain so many lights that your mains wall socket outlet becomes overloaded. To err on the side of caution and saftey we would recommend that no more than 8x Telos0010s, 10x Telos0008s or 12 Telos0006s should be daisy changed together from one mains wall socket outlet at any given time.
We're the kings of stealth shipping! All of our orders are sent out in plain mailer bags or boxes with no mention of the company name for ultimate discretion.
Mainland UK Next Day Shipping will be with you the next day if ordered before 2pm. Our standard shipping is dispatched within 4 days.
We always aim for make sure our customers love our products, but if you do need to return an order, our 24/7 returns portal makes it incredibly easy. Just visit onestopgrowshop.co.uk/returns
Yes, we ship all over the world. Shipping costs will apply, and will be added at checkout. If you have any issues with shipping to your particular country, get in touch with customerservices@onestopgrowshop.co.uk and we'll create you a bespoke shipping quote.