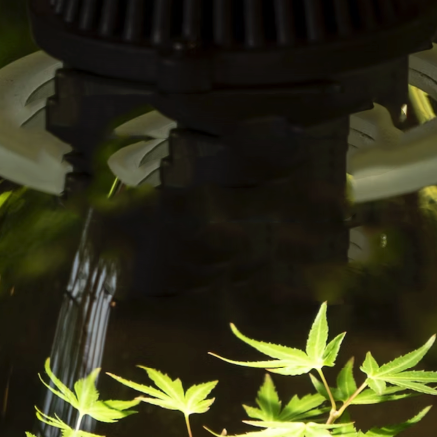
Take Control of Your Gavita Lighting
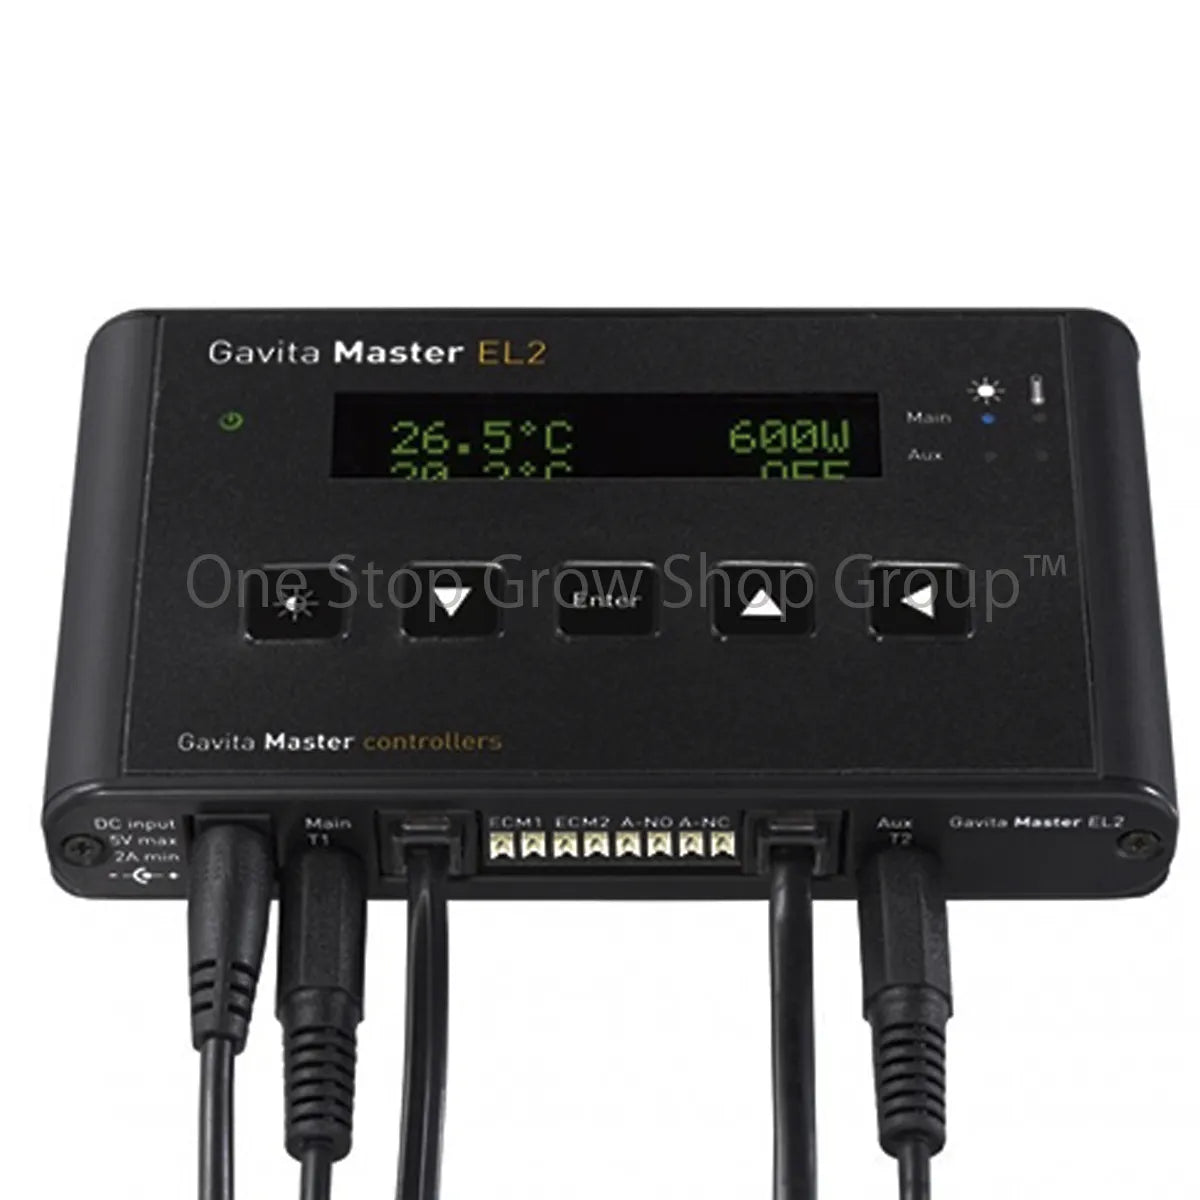
So today we’re going to be talking you through the Master Controller from Gavita. This particular unit is the EL1, but the basic concept is the same for all of the different versions. The menu system is actually really intuitive, and simple enough to work out without instructions, but to make it crystal clear, we’re going to talk you through the basics.
Master Controllers regulate the switching of Gavita lighting, while also unlocking a host of extra features, which we’ll go through in a minute. With some additional equipment, you can even use a Master Controller to manage other items of grow room equipment, though this is something we’ll get into a later date.
So, you’ve got the quick key on the left: use this to select your lighting output levels
Then you’ve got ‘up’ and ‘down’ buttons, with an enter button in the middle, which are pretty self-explanatory. They’re used to search for and select options in the menu system.
The final button is the ‘back’ button
Choosing your Lighting Mode
You can choose between lights on, lights off and automatic mode, where your lighting switches on and off according to your timer settings, which we’ll go through in a second or two.
You’ll want to use the ‘off’ mode when you’re switching out equipment and changing lamps, because it will ensure that your lights don’t switch on unexpectedly.
- Press “enter” to open the menu.
- Press the arrow keys to locate “Output mode” and press “enter”
- Press the arrow keys to switch between “auto”, “on” and “off” - Select “on” to turn all the lights on. This setting will ignore temperature safety settings.
- Select “off” to turn all the lights off
- Select “auto” to follow the programmed light cycle and temperature safety settings.
- And you can press “enter” to confirm your choice
Programming a Light Cycle
- Press “enter” to open the menu.
- Press the arrow keys to locate “Light Cycle” and press “enter”.
- Use the arrow keys to select the starting hour of the ‘lights-on’ period and press “enter” to confirm your choice.
- Do the same to select the minute
- Then repeat the process for your ‘lights-off’ time
So what we’ve just shown you will allow you to replicate a typical contactor and timer set-up. It also simplifies things a lot because you’re plugging your lighting straight into power sockets and you can regulate X fixtures for the EL1 and X fixtures for the EL2 all at the same time.
But using centralised control opens up a host of features that allow you to tweak things further. We’ll talk you through some of them now.
Setting the Intensity
You can set your lighting output rates from 50 to 110 percent for most fixtures, and from 50 to 115 percent if your running 1000 watters.
- Press the quick-key
- Then press the arrow keys to choose your output setting
- And press “enter” to confirm your choice.
Setting the sunrise and sunset period
Sunrise / sunset mode eases your plants in and out of lighting periods gradually, mimicking natural sunlight. Anything you can do to get closer to a plant’s natural environment is going to have a positive impact. Sunrise / sunset mode is less stressful for your plants than using contactors and timers and it even helps to reduce the chances of getting powdery mildew and rot.
- Press “enter” to open the menu.
- Press the arrow keys to locate “Sunrise/sunset” and press “enter”.
- You’ll see the “Set ramp time” screen, which tells you how long it will take for your lighting to fade in and out
- Press the arrow keys to increase or decrease the ramp up / down time and press enter
There are also safety features that will give you peace of mind while you’re away from your grow room.
Auto-Dimming
When temperatures get above a certain level, leaf stomata close up and photosynthesis slows down, decreasing overall growth rates.
Master Controllers allow you to automatically dim your lighting to keep the environment in range, which is really useful when it gets hotter outside. The default setting is 30 0C / 86 0F. If you’re running a closed loop system like an Opticlimate, make sure that you set your auto-dimming above the settings for your room. You only want your lights to dim as a last resort.
- Press “enter” to open the menu.
- Press the arrow keys to locate “Auto-Dim Temp” and press “enter”.
- Press the arrow keys to increase or decrease the temperature.
- Press “enter” to confirm.
Setting safety shutdown temperature
You can set the Master Controller to shutdown if room temperatures get dangerous. This gives you extra peace of mind while you’re away from the grow area, reducing the risk of plant damage or even a potential fire.
- The default shutdown temperature is set to 35 degrees C.
- Warning! After a shutdown, a manual reset is required.
- Press “enter” to open the menu.
- Press the arrow keys to locate “Shutdown Temp” and press “enter”.
- Press the arrow keys to increase or decrease the temperature and press “enter” to confirm.
Watch the full video on how to use the controller below!
If you've any more questions don't hesitate to pop in store or give us a call. Until next time, happy growing.