How to Set Up a Grow Tent
Getting Set Up Part 1: Putting up a Grow Tent
So you've chosen and bought your grow kit, now where to start?
The first thing to do is to put up the grow tent. This is a lot simpler than many people think. One of the key things here is to take your time and not rush. Get the instructions out first and familiarise yourself with the steps.
- The first to remember is: Build your tent in the room that you are going to use it! Over the years we have met several people who have erected their tent in a different room, and then realised... it doesn't fit through the doorway!
- The tent poles are usually bundled together in groups of similar types and bear identification stickers such as "A" or "1". It is a good idea to keep the groups of poles separated so that you can easily put your hand on the next one that you need.
The instructions will show you which poles to use where.
In general, the base of the frame is put together first. This involves using half of the corner pieces and connecting them together with the correct poles. This means each corner piece has two poles inserted into it. Remember that the remaining socket on each corner piece needs to be facing the same way - in this case upwards. Make sure that the poles are inserted firmly and fully into the corner pieces.
The next step is to identify which poles go into the remaining sockets of the ground corner pieces. Insert one of these poles into each corner piece to form the lower half of the upright sections.
At this point, many people will place the frame base into the base of the canvas. It is easier to do it at this point when the frame is half-built and small than when it is fully built and a bit unwieldy. Unfold the tent canvas and fully open all the zips. The base of the tent can be identified by the fact that it is black rather than reflective.
Once the frame is sitting inside the base of the canvas, the next set of poles slot onto the tops of the first set of upright poles to form the upper half of it.
- Insert the remainder of the corner pieces on to the tops of the uprights
- Connect the top corner pieces together with the last of the poles.
Wrap the remainder of the canvas over the top of the frame. The canvas should never be yanked as this can cause damage to the joins and stitching. A little bit of a pull should get the canvas to fit snugly. If you find it difficult to get the canvas to stretch over the top then you will probably find that there is a little slack in the canvas as it fits around the bottom of the frame. Lifting the frame a little and a gentle pull should release this slack, giving a little more canvas to reach over the top of the frame.
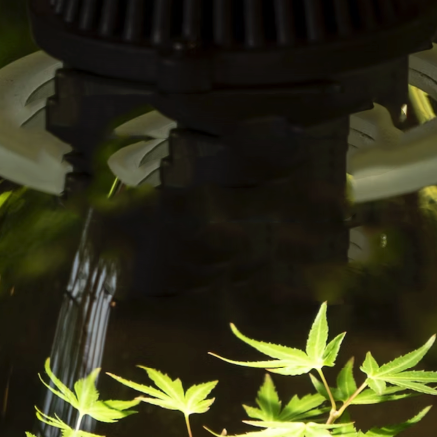
Carefully zip the sides and front of the canvas together around the top and bottom. Add in the supports for the lights and extraction.
Place the drip tray into the bottom of the tent. Tie the loops in the corners of the drip tray around the poles to fix it in place.
The tent is now built.