How to Fit a Single-Ended HPS Lamp
In this guide, we talk about the key things to bear in mind when you fit a typical HPS lamp.
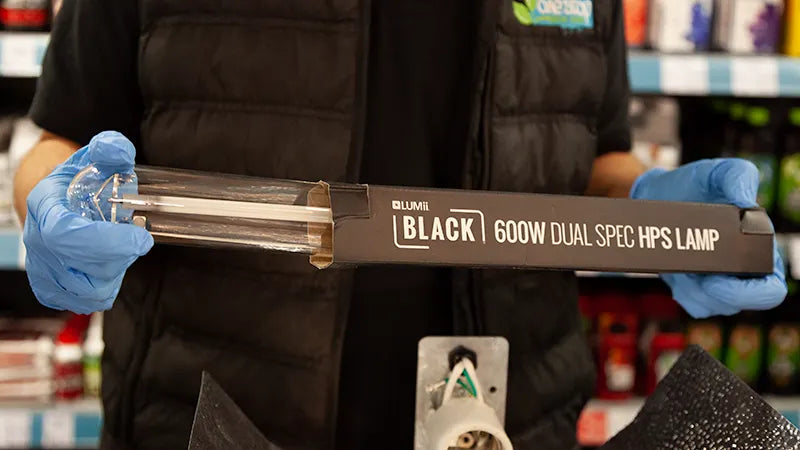
Before you do anything, make sure that the wattage of your ballast matches the wattage of the lamp you are using, or there will be a massively increased risk of causing a fire or damaging equipment.

Always fit your lamps with the power switched off at the mains. This is good practice whenever you're doing electrical work, and it will help to prevent any unfortunate accidents.

Screw the lamp into the E40 bulb-holder fitting of your reflector, fitting it in as tightly as possible by gripping the lamp with a clean, dry cloth to avoid leaving any fingerprints or marks. If it's not secured in tightly enough, then arcing can occur between the centre contact of the lamp and the lamp-holder. This can melt the solder contact on the bottom, causing damage and rendering it unusable.

When you're happy that everything's good to go, you can then turn on the power.
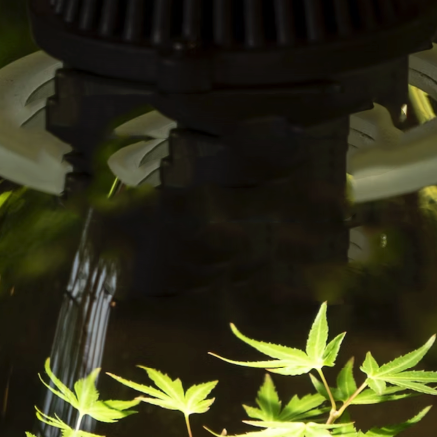
Note that, once the lamp is switched on, it runs extremely hot. As with all high-pressure sodium and metal halide bulbs, make sure that nothing touches the lamp, as this may cause severe burns or fires. Administer foliar feeds and pesticides with the power off - any liquid that hits the lamp could cause premature failure or even an explosion.
You should also note that the light your lamp produces will decrease with use over time. One Stop Grow Shop recommends you replace your lamp regularly to maintain garden efficiency. For typical 230v lamps, this will ideally be after each full grow. 400v high frequency lamps will last for a year before they lose their effectiveness.