ADMINISTERING NUTRIENTS
This is a quick guide to mixing nutrients in hydroponics. We’re going to explain to you how to mix up some base nutrient, to give you a feel for the process and get you familiar with all of the necessary equipment. We’ll get into additives another time – this is just to get you familiar with the basics.
When you're mixing your solution, you're going to need the following items:
- Nutrients and a feed chart. We’re using Canna Aqua Vega, a two-part veg feed for use with clay pebbles in recirculating systems. You’ll find a copy of the feed chart on our web listing.
- Something to mix nutrients in. This could be your reservoir if you’re running a system, or in our case, a 20 litre bucket
- A pH meter. When we talk about the pH levels in your nutrient solution, we're referring to how acidic or alkaline it is. pH levels have an impact on how well each nutrient is absorbed. We need to make sure that our nutrient solution ends up in the sweet spot that allows as much uptake of key macro and micro nutrients as possible. The Blue lab pH Pen is perfect for the job.
- An EC meter. This piece of kit measures the conductivity of water, giving you information about its dissolved mineral content. It's not as complicated as it might sound – you’re simply using it to establish the nutrient content of your feed. At One Stop, we love the Bluelab Truncheon. It's reliable, accurate, and if you look after it correctly, it'll last for years.
- pH down is made up mostly of phosphoric acid, and it’s used to correct pH levels where needed.
Finally, you’ll need some syringes for administering nutrients and adjusting the pH
We'll be running through a scenario to help you understand the in's and out's of mixing your nutrients.
Firstly, it’s not a good idea to use water straight from the tap. Leaving it to stand overnight will allow the chlorine to evaporate, which can help to protect populations of beneficial micro-organisms.
At One Stop, we’re in a hard water area, so we’re going to be using a hard water variant of Canna Aqua Vega. Tap water from hard water areas has higher concentrations of calcium and magnesium, so you’ll need less of those secondary macro nutrients in your feed. If you’re in a soft water area, you’ll need to use specially formulated nutrients that add in a little extra calcium and magnesium to account for this.
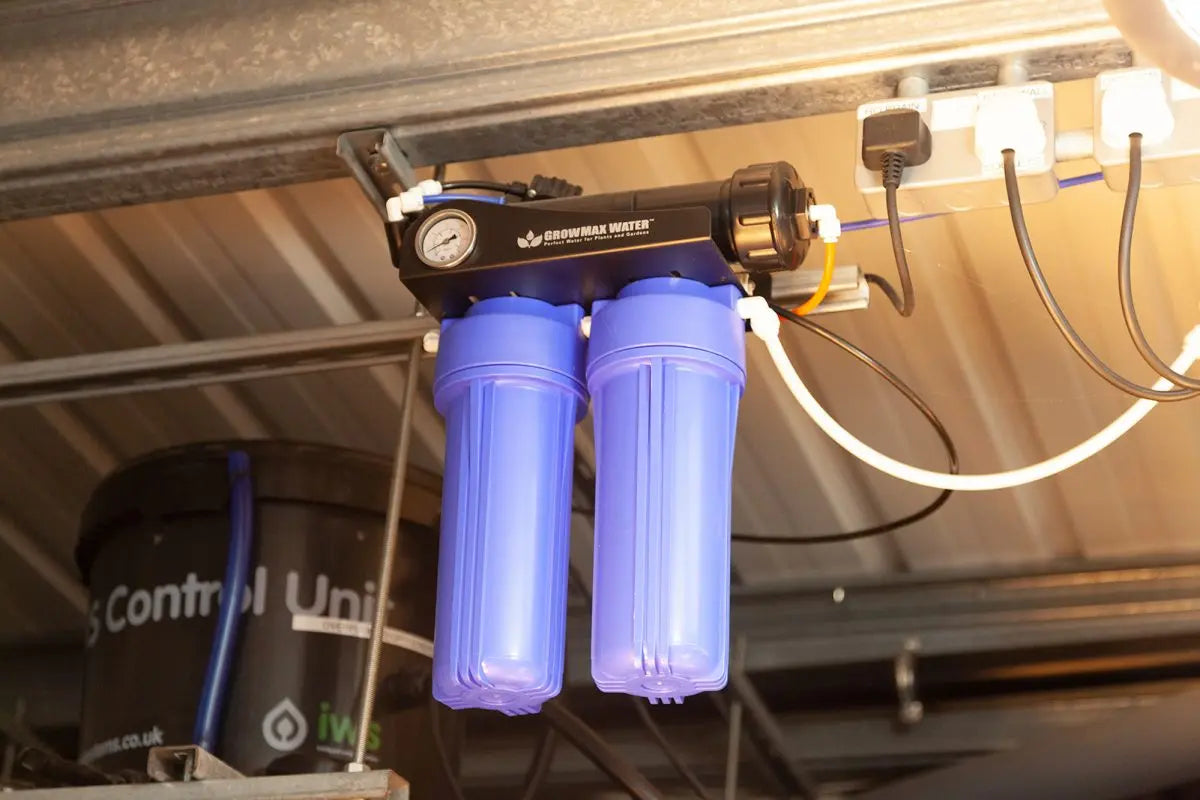
First, you’ll need to take an EC reading. This is going to tell you exactly how much dissolved mineral content there is your our tap water. You know that we’re in a hard water area because we have a reading of 0.4 EC. This is the low end of the hard water range; some growers are unfortunate enough to be working with tap water with a starting EC of 1.0 or above! If this is you, then you should invest in a reverse osmosis unit, which filters minerals out of your water, getting it down to a starting EC of zero.

Quickly test the pH to make sure that it’s in range you want to aim for 5.8. If it’s too high, then you’ll want to return the pH level down to 7 before starting.
Most feed charts will give you a recommended dosage in millilitres or an optimal EC level to achieve. Remember that it’s always better to underfeed plants than to overfeed them. Overfeeding causes damage that can take weeks to correct, whereas underfed plants can be fixed quickly and easily by simply upping nutrient levels. It’s not uncommon for nutrient manufacturers to overestimate the levels of feed needed for healthy growth, so, when in doubt, start at the low end of scale and work your way up. Ultimately, feed charts can only ever serve as a rough guide. Let your plants tell you what they need by looking out for signs of over and underfeeding. Overfed plants tend to get burnt at the tips, whereas underfed plants lose their colour, becoming a little bit pale.

Once you know your starting EC level, you then need to think about the EC level that you’re aiming to get to. We’ll assume that our plants are in the last week of the vegetative cycle. As we’ve discussed, optimal EC levels will be slightly different for each plant, but as a rough guide, but you need to aim for a base nutrient EC of around 1.0 – 1.4.
Our tap water already has an EC of 0.4, so the combined EC would need to get to between 1.4 and 1.8. As mentioned before, it’s better to go in low and work your way up, so today we’re going to aim for a final EC level of 1.4
Sometimes it can be difficult to gauge how much nutrient to add to reach the right levels.
However, you don’t want to overdo it, so start by halving the dose and checking your EC levels again. Add 30ml of Part A, stir vigorously to mix everything up properly – this is important – then add the other 30ml of Part B.
Test the solution and keep adding nutrient until you reach the target EC of 1.4.
Now that your nutrients are sorted, the next thing that you’ll need to do is adjust the pH levels. You can do this quickly and easily by gradually adding some pH down solution to your bucket, while testing the solution with your Bluelab pH Pen. Different bottles of pH down have different concentrations of phosphoric acid, so they’ll require different quantities. You’ll get a feel for this over time and you’ll get a better idea of how much to add.
It can be easy to overshoot it and end up with a pH that’s too low, which can cause issues with nutrient lockout. You can make life easier by drawing some water into your syringe after the pH down and adding the resulting mix to your solution, instead of adding it neat.
Once your pH levels are perfected, they'll be ready to add to your plants! Mixing your nutrients can be a little nerve wracking the first time you do them, but the more you do this, the more confident you'll become when administrating your nutrients.
If you require any more information regarding nutrients or applying them, don't hesitate to drop us a message on any of our social media channels!