In this video, we show you how to put together an aeroponic propagator. Aeroponic props keep roots super-oxygenated, which speeds up turnaround times massively. They’re easy to use and take minutes to set up.
You’ve got a reservoir base, a top tray to supports your plants and a clear plastic lid to lock in the humidity.
There’s also a kit bag with your net pots, collars, pump and delivery system.

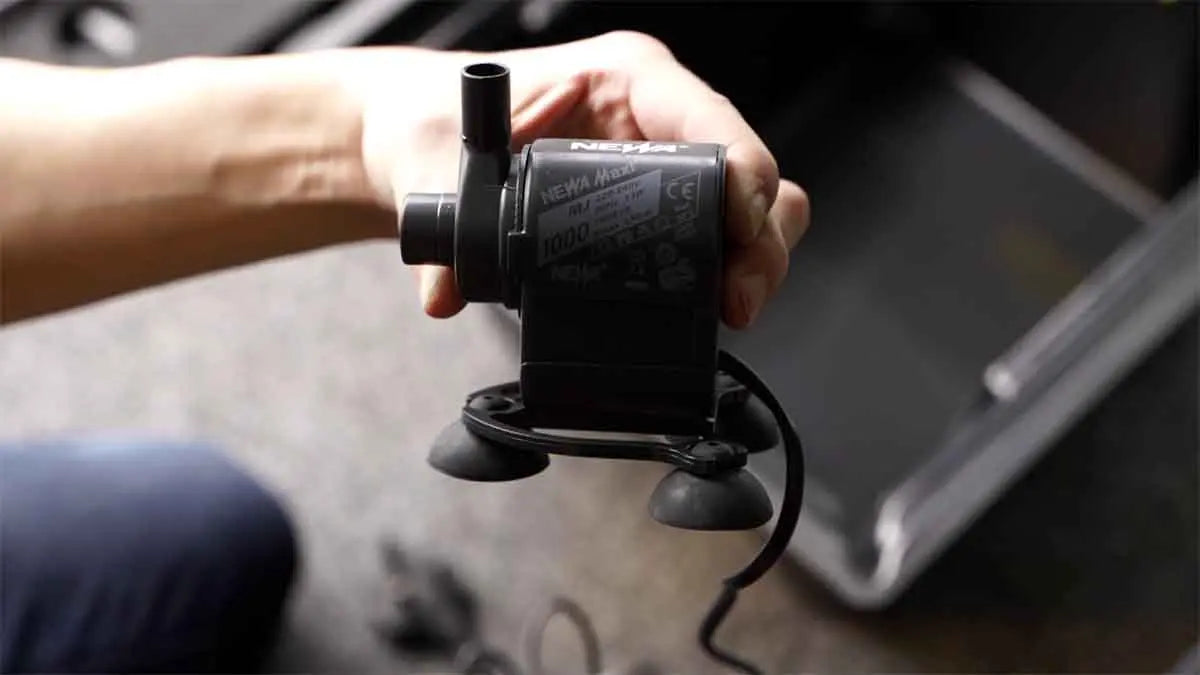
You get a very high-quality pump, an MJ-1000, which is one of the most reliable in the industry and already familiar to those growing in IWS or Wilma Systems. Fit the mounting frame and suction cups and stick it to the centre of the reservoir.

You’ll notice that there’s a groove in the reservoir for the power cable, which is a nice touch that keeps the top tray sitting flush.

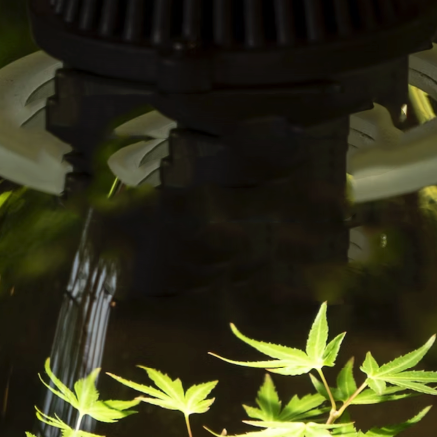
Fit the filter to the inlet on the front of the pump and fit the H-shaped delivery system with spray heads to the outlet at the top.

Place on the top tray, add your net pots and push a neoprene collar into the top of each one. The collars come with a split that you can use to insert your cutting. We’re not taking any cuttings today, but if we were taking some, this is the stage we’d be adding them to our prop.

Remove the plastic scratch protection from the lid, and fill your reservoir with water, so that the pump’s fully submerged.

We like to place cuttings under the 100w Omega Spectra G100 LED, which is the best propagation and veg light that you can lay your hands on. It’s extremely powerful, so start off at the lowest setting, as cuttings won’t need much light to at the beginning.